サンドボックス環境で Visual Studio Code(以下、VSCode) をインストールしてみました。
いつも適当にインストールしていたので、改めて手順を確認しておきたいと思います。
今後、Amazon Kinesis Video Stream(KVS) のC++用プロデューサーSDKをビルドしてみようと思っているので、Git と CMake もインストールして、VSCode から使えるようにしておきます。
VSCode の公式サイトで「今すぐダウンロード」をクリックして、System Installer 64bit をダウンロードしました。User Installer や zip 形式も選択できるので、この辺はお好みで。
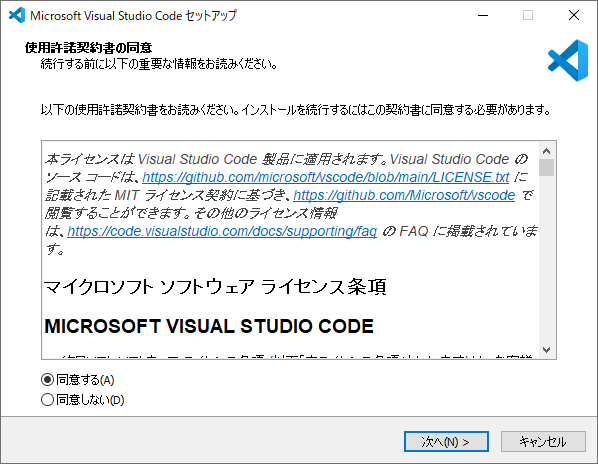
実行すると、使用許諾契約書の同意を求められるので、よく読んで同意するを選択、次へをクリック。
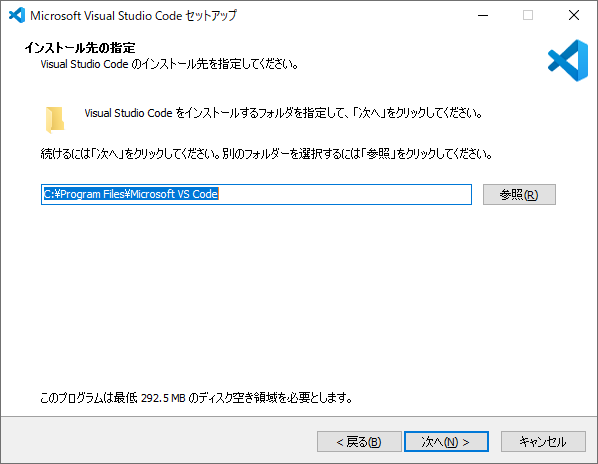
インストール先を指定できますが、標準のままで次へをクリック。
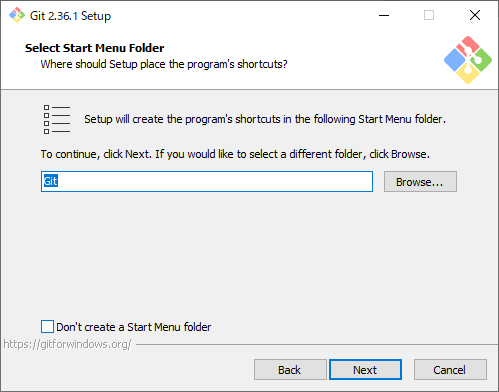
スタートメニューフォルダーも標準のまま次へをクリック。

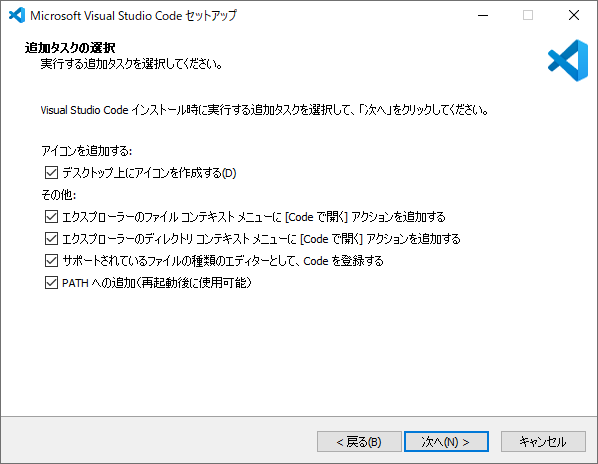
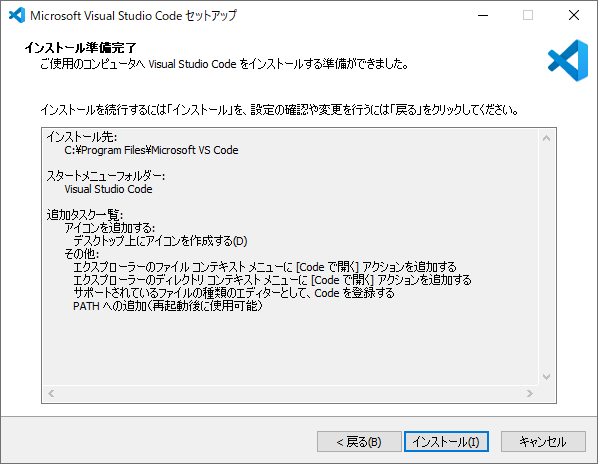
エクスプローラーからファイルやディレクトリを選択してVSCode を起動するのが好きなので、追加タスクの選択でチェックを追加しています。この辺もお好みで。
インストール準備完了の画面で、インストールをクリック。
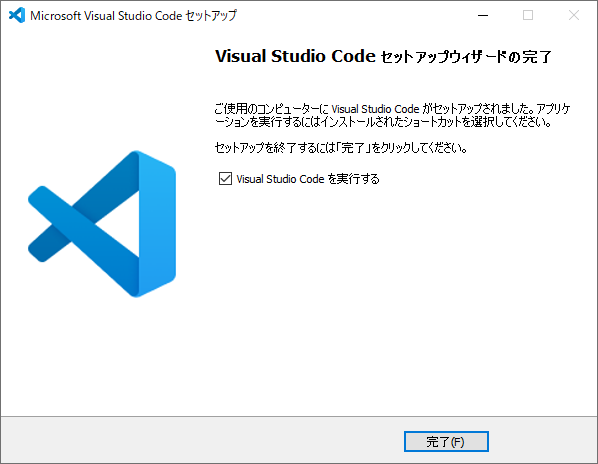
セットアップウィザードの完了画面が表示されたらインストールは完了です。
システム環境変数には以下の1行が追加されました。
C:\Program Files\Microsoft VS Code\bin
これはインストーラの種類で変わりそう。今回は System Installer を選択したのでこうなってるようです。
VSCodeを初めて起動すると、OSの言語を認識して、日本語の言語パックが自動的にインストールされます。
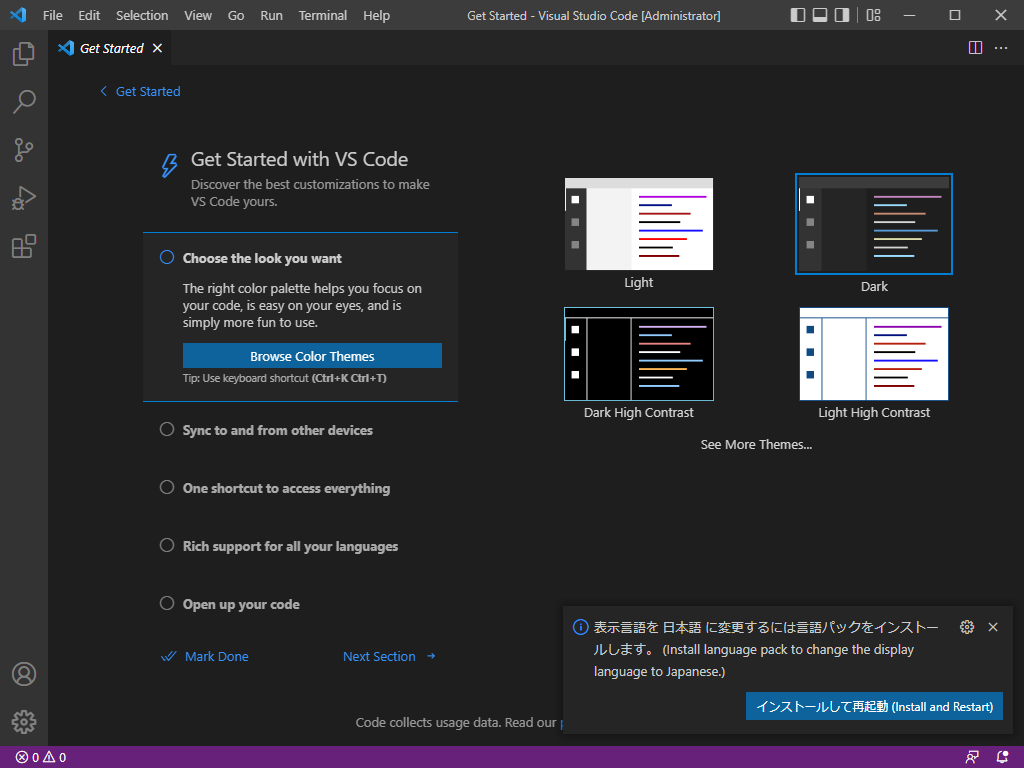
メッセージに従って、素直に「インストールして再起動(Install and Restart)」します。

昔、VSCode が出たばかりのころは自動じゃなかった。便利な世の中になりました。
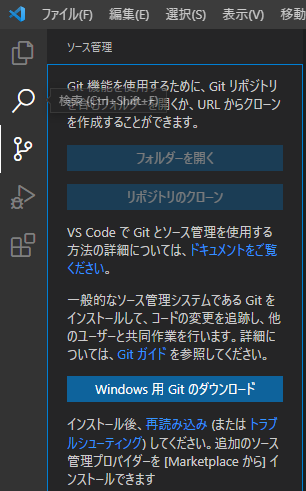
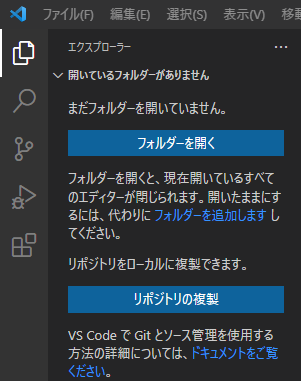
個別に別途 Git を入れていない場合、インストール直後は、「リポジトリの複製」がグレーアウトされていて使えません。
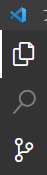
左メニューで上から3つ目のソース管理をクリック、もしくは Ctrl+Shift+G を押します。
「Windows 用 Git のダウンロード」ボタンが表示されるので、そちらをクリックします。
Webブラウザで Git のダウンロードページが開きます。こちらも好みですが、今回は Standalone Installer で、64-bit Git for Windows Setup. をダウンロードしました。
2022/5/24時点でのバージョンは 2.36.1 でした。
ダウンロードしたインストーラを実行します。
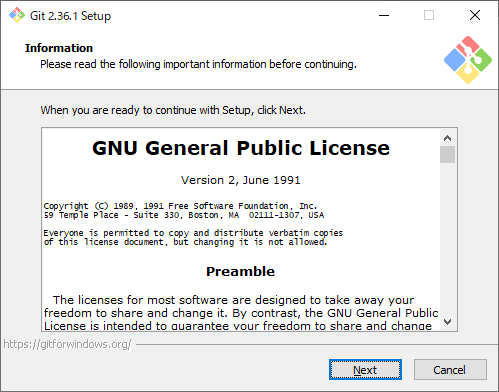
ライセンスに同意して、Next をクリック。
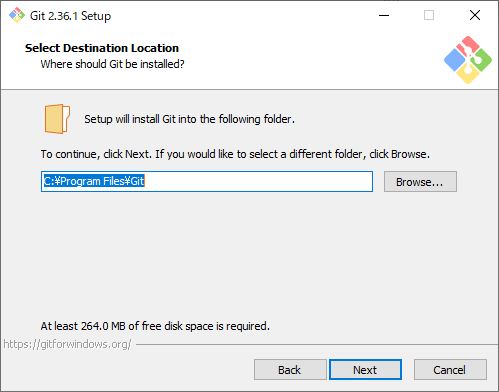
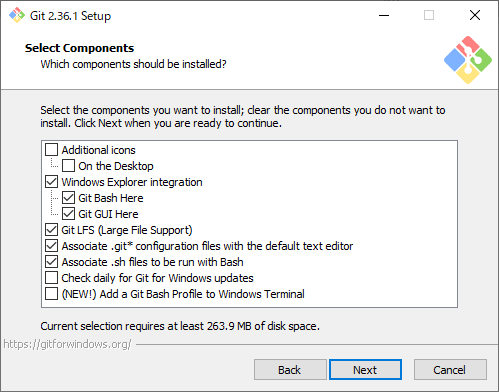
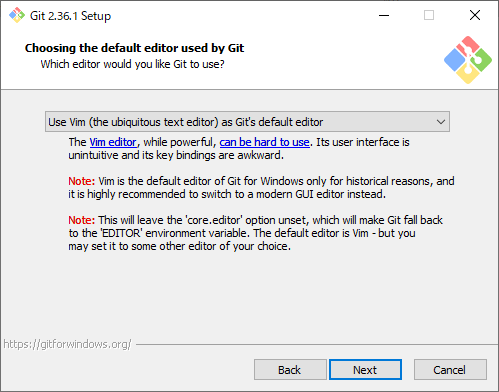
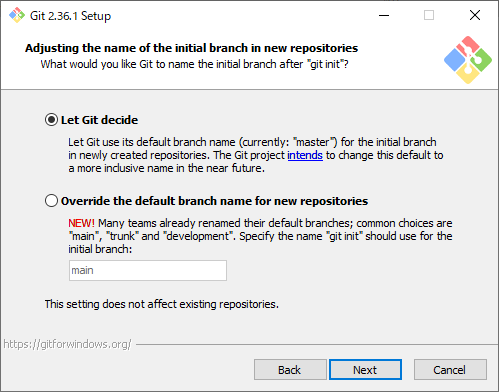
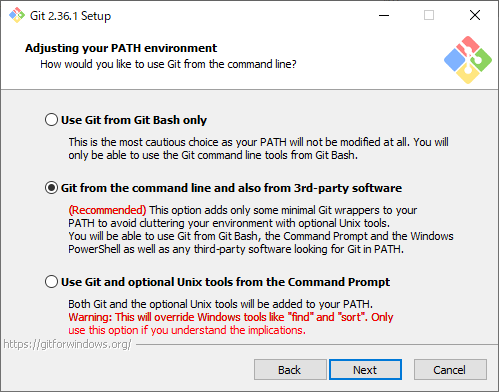
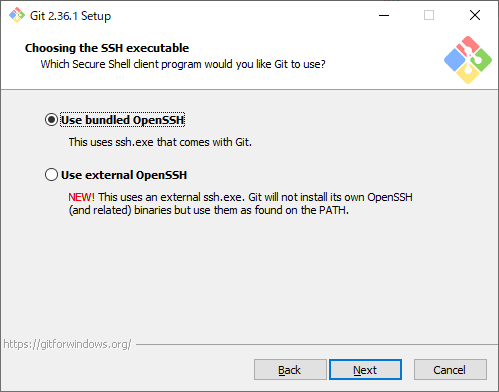
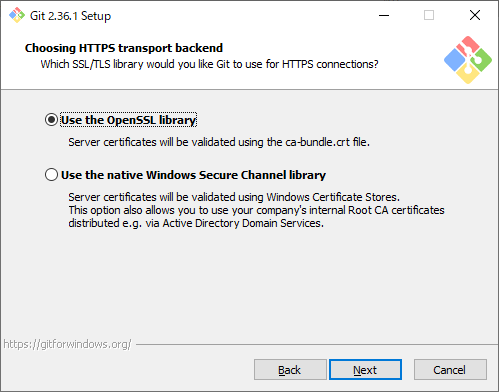
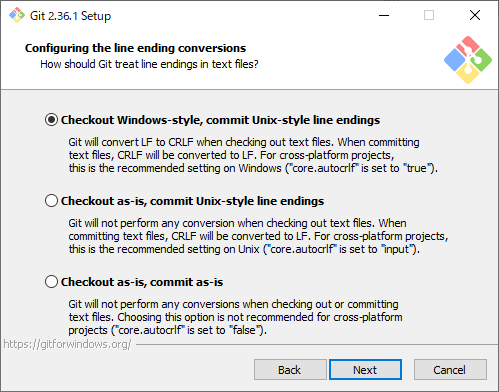
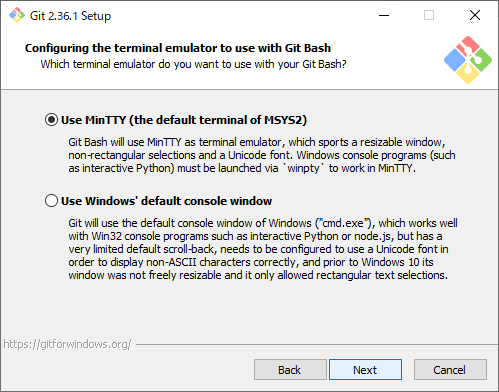
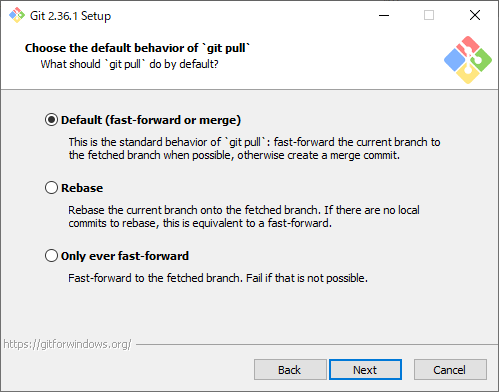
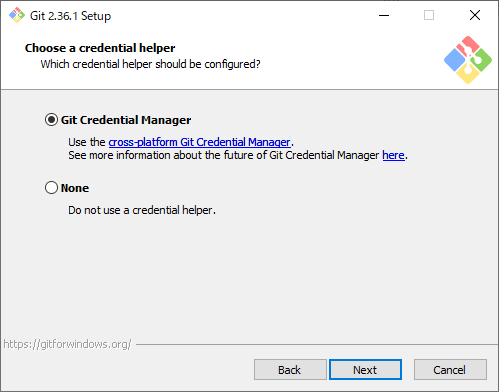
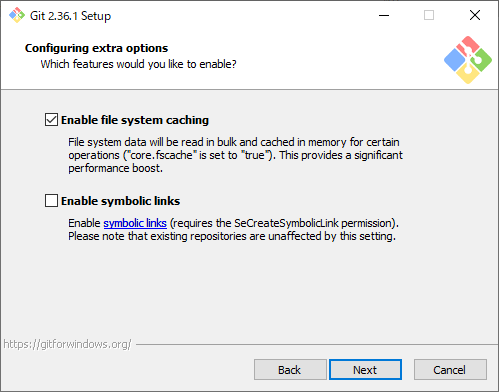
インストール先は標準のまま、Next をクリック。この後の画面でも特にこだわりはないので、すべてデフォルトのまま進めました。
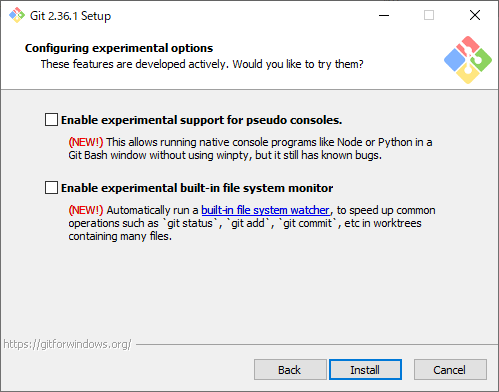
これで Install ボタンをクリックするとインストールが始まります。
しばらく待つと完了画面が表示されます。
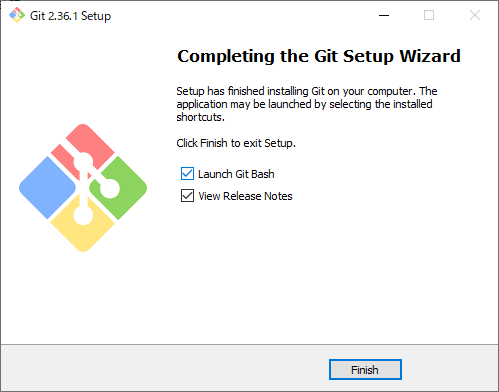
長いパスでエラーになることを回避するために、ここで「Launch Git Bash」にチェックをつけて、Finish ボタンをクリックします。
Git Bash プロンプトが起動するので、以下のコマンドを実行します。
git config --system core.longpaths true
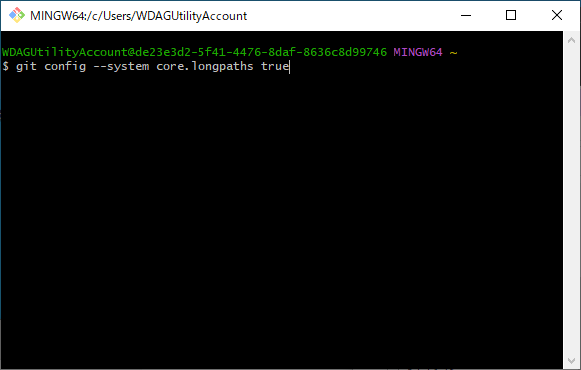
プロンプトを終了するには、exit と入力するか、Ctrl+D を押します。
Git のインストールによって、システム環境変数には以下の1行が追加されました。
C:\Program Files\Git\cmd
VSCode を改めて起動すると、先ほどグレーアウトされていた「リポジトリの複製」が有効になります。
公開されている Git からクローンする場合は、先ほどの入力欄にURLを入力します。
あと、今後いろいろビルドすることを想定しているので、CMake環境も作っておきます。
CMake の公式サイトから、Windows x64 Installer 「cmake-3.23.1-windows-x86_64.msi」をダウンロードしてインストールします。
※2022/5/24時点のバージョンは 3.23.1 でした。
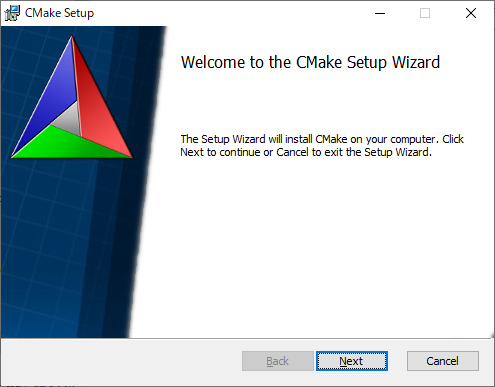
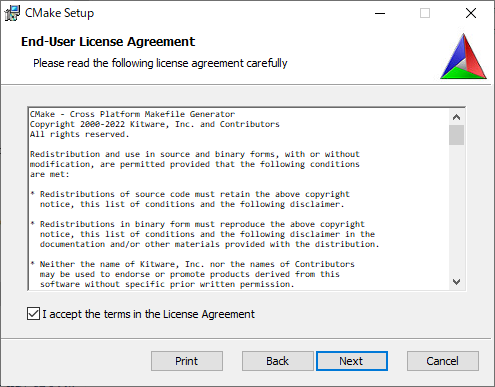
ライセンスに同意して、Next をクリック。
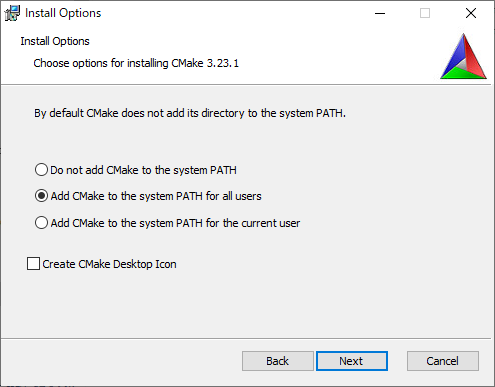
次の画面で「Add CMake to the system PATH for all users」を選択して、システム環境変数Pathに追加するようにして、Next をクリック。
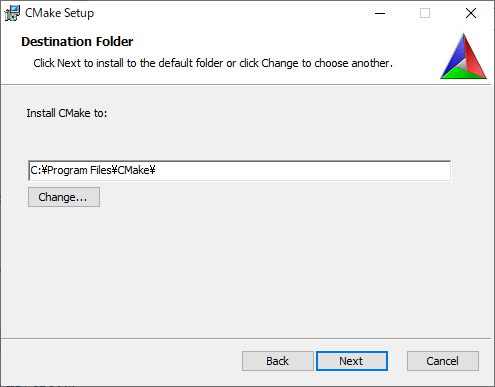
以降は標準のまま進めました。
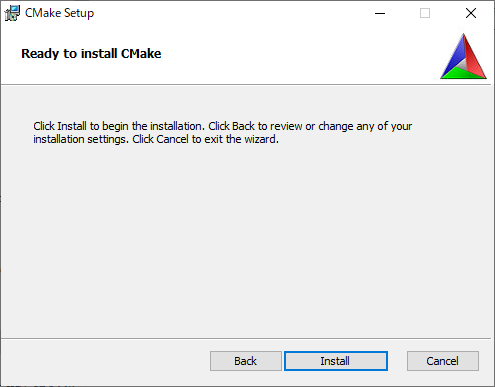
最後に Install ボタンをクリックでインストールが始まります。
完了画面で Finish ボタンをクリックして終了します。
システム環境変数Pathには以下1行が追加されました。
C:\Program Files\CMake\bin
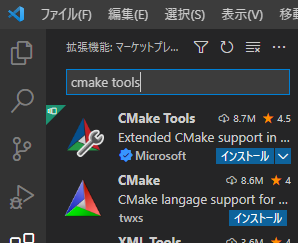
続いて、VSCodeの拡張機能「cmake tools」を検索してインストールします。
ひとまず、VSCode の環境設定はここまで。
次回は、この環境を使って、Amazon Kinesis Video Stream(KVS) のC++用プロデューサーSDK をビルドしてみようと思います。